Skip to content
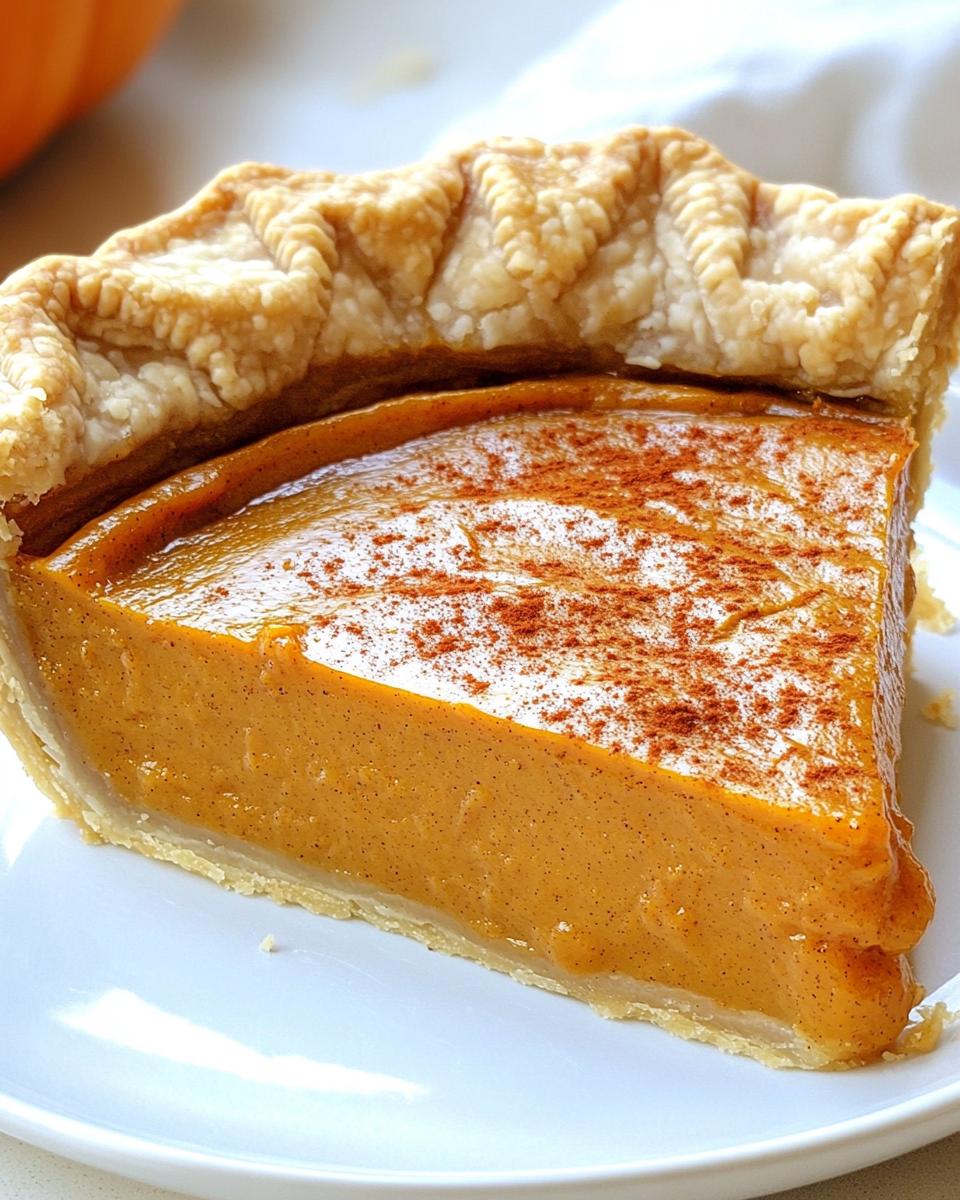
You know that moment when you’re craving something sweet but don’t want the sugar crash? That’s exactly why I fell in love with this Stevia Sweetened Pumpkin Pie. It’s got all the cozy, spiced flavor of the classic dessert—just without the guilt. I first whipped this up last Thanksgiving when my diabetic aunt joined us, and guess what? Nobody could tell the difference! The secret? Pure stevia extract, which sweetens things up naturally while letting the rich pumpkin and warm spices shine. Trust me, one bite of this pie, and you’ll forget it’s sugar-free. The texture? Silky smooth. The taste? Pure autumn bliss.
Why You’ll Love This Stevia Sweetened Pumpkin Pie
Oh, where do I even start with this pie? It’s the kind of dessert that makes you do a little happy dance—first because it’s delicious, and second because it won’t leave you buzzing from a sugar crash. Here’s why it’s about to become your go-to:
- No sugar, no problem: Stevia keeps it sweet without spiking your blood sugar, so you can enjoy that second slice (I won’t judge).
- Easy as… pie: Just mix, pour, and bake—no fancy techniques needed.
- Flavor bomb: Cinnamon, nutmeg, and ginger cozy up to the pumpkin like they were made for each other.
Seriously, this pie is proof that healthy doesn’t mean boring. Wait till you taste it!
Ingredients for Stevia Sweetened Pumpkin Pie
Here’s the beautiful part—you probably have most of these in your pantry already! But a few ingredients make all the difference in this pie. Trust me, the right kind of stevia matters (more on that later). Grab these, and you’re halfway to pie heaven:
- 1 can (15 oz) pumpkin puree – Not pie filling! Just plain pumpkin
- 1/2 cup pure stevia extract – The powdered kind, not liquid drops
- 2 large eggs – Room temp makes them blend smoother
- 1 tsp cinnamon – The good stuff, not that dusty old jar
- 1/2 tsp ginger & 1/4 tsp each nutmeg & cloves – Warm spice magic
- 1/2 tsp salt – Balances all those sweet flavors
- 1 cup evaporated milk – Makes it luxuriously creamy
- 1 unbaked pie crust – Homemade or store-bought, no shame!
How to Make Stevia Sweetened Pumpkin Pie
Alright, let’s get baking! This pie comes together so easily—just follow these simple steps, and you’ll have a showstopper dessert in no time. The secret is in the two-stage baking, which gives you that perfect custardy texture without any cracks.
Preparing the Filling
First things first: preheat that oven to 425°F. While it heats up, grab your biggest mixing bowl and let’s make magic happen. Whisk together the pumpkin puree and stevia until they’re best friends—no lumps allowed! Crack in those eggs one at a time, mixing well after each. Now the fun part: sprinkle in all those gorgeous spices (cinnamon, ginger, nutmeg, cloves) and the salt. Breathe in deeply—smells like the holidays already, doesn’t it? Finally, slowly pour in the evaporated milk while stirring. You’re aiming for a smooth, velvety mixture that pours like a dream.
Baking the Pie
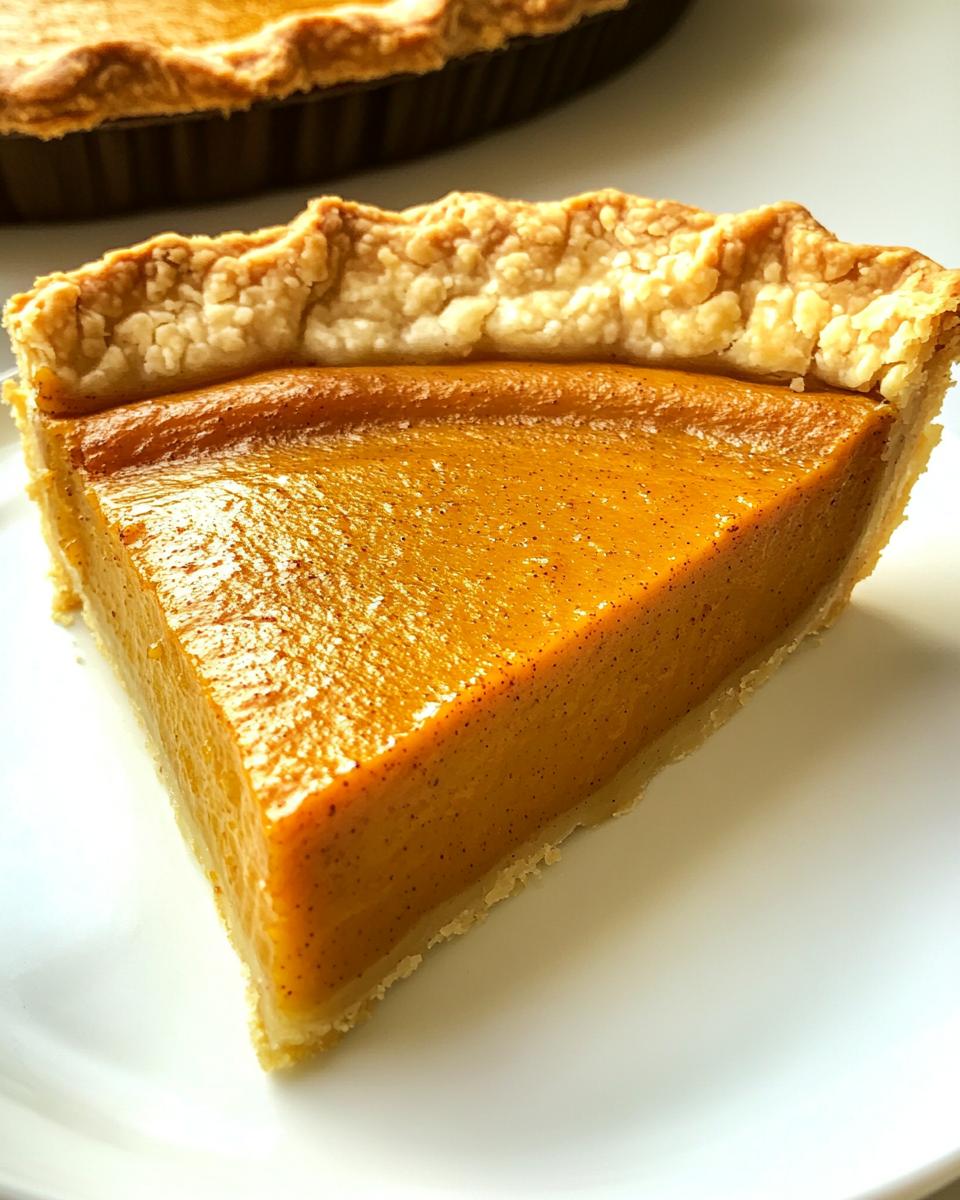
Pour that beautiful orange filling into your waiting pie crust. Here’s my pro tip: cover the crust edges with foil or a pie shield to prevent over-browning. Bake at 425°F for 15 minutes—this initial blast of heat helps set the structure. Then, reduce the oven to 350°F (don’t peek!) and bake another 40-50 minutes. The pie is done when the edges are set but the center still has a slight jiggle (like firm Jell-O). Stick a toothpick in near the center—it should come out mostly clean with just a few moist crumbs. Let it cool completely before slicing—I know, the waiting is the hardest part!
Tips for Perfect Stevia Sweetened Pumpkin Pie
Want that flawless pie every single time? Here are my tried-and-true secrets after making this recipe at least two dozen times (yes, we really love pumpkin pie in this house!):
- Don’t overmix – Once you add the milk, stir just until combined. Too much mixing = tough pie.
- Let it cool completely – I know it’s tempting, but slicing warm pie leads to sad, soupy slices. Wait at least 2 hours!
- Fresh spices make all the difference – That jar from last Thanksgiving? Toss it. New spices give the brightest flavor.
- Blind bake the crust – For extra crispiness, bake the empty crust for 10 minutes at 350°F before adding filling.
Ingredient Substitutions
Ran out of something? No panic! This pie is pretty forgiving. Swap evaporated milk for almond milk if you’re dairy-free—just know the texture will be slightly less creamy. Got pumpkin pie spice? Use 2 teaspoons instead of the individual spices. Important: Don’t replace stevia with honey or maple syrup unless you’re okay with added sugar. The whole point is keeping it guilt-free!
Serving Suggestions
Oh, the fun part—dressing up your masterpiece! A dollop of whipped coconut cream adds dreamy contrast to the spiced pie. For a classic touch, try sugar-free vanilla ice cream slowly melting into each warm slice. (My personal weakness? A sprinkle of toasted pecans for crunch!)
Storing Stevia Sweetened Pumpkin Pie
Here’s the good news—this pie actually gets better after chilling overnight! Just cover it loosely with foil (or pop it in a pie carrier if you’re fancy like that) and store in the fridge for up to 4 days. Want to freeze? Wrap individual slices tightly—they’ll keep beautifully for 2 months. To reheat, 10 minutes in a 300°F oven brings back that fresh-baked magic. Pro tip: the colder it is, the cleaner your slices will be!
Stevia Sweetened Pumpkin Pie Nutrition
Here’s the best part—each slice has just 5g of natural sugar (thanks, pumpkin!) compared to 25g+ in traditional recipes. The numbers are estimates, but trust me, your taste buds—and your body—will thank you. Now that’s what I call smart indulgence!
Common Questions About Stevia Sweetened Pumpkin Pie
I get asked about this pie all the time—here are the biggies that keep coming up from friends and readers:
Can I use fresh pumpkin instead of canned?
Absolutely! Roast sugar pie pumpkin (not carving pumpkins) at 350°F until fork-tender, then puree. Just make sure to drain excess liquid in cheesecloth—fresh pumpkin tends to be waterier than canned. You’ll need about 1¾ cups puree per can.
Does stevia make the pie taste bitter?
Not if you use pure stevia extract (the white powder kind). The liquid drops can sometimes have an aftertaste, but the powdered stuff blends right in. The spices and pumpkin balance it perfectly. If you’re new to stevia, start with the full ½ cup—it’s not as overpowering as sugar!
How do I prevent cracks in my pie?
Three tricks: 1) Don’t overbake—that slight jiggle in the center means it’s done. 2) Cool it slowly—leave it in the turned-off oven with the door cracked for 30 minutes. 3) Mix gently to avoid air bubbles. But hey, if cracks happen? Just cover them with whipped cream—my little “baker’s camouflage!”
Print
“Amazing Stevia Sweetened Pumpkin Pie: Only 5g Sugar Per Slice”
- Total Time: 1 hour 10 minutes
- Yield: 8 servings 1x
- Diet: Low Calorie
Description
A delicious pumpkin pie sweetened with stevia for a healthier dessert option.
Ingredients
- 1 can (15 oz) pumpkin puree
- 1/2 cup stevia
- 2 eggs
- 1 tsp cinnamon
- 1/2 tsp ginger
- 1/4 tsp nutmeg
- 1/4 tsp cloves
- 1/2 tsp salt
- 1 cup evaporated milk
- 1 unbaked pie crust
Instructions
- Preheat oven to 425°F.
- Mix pumpkin, stevia, eggs, spices, and salt in a bowl.
- Stir in evaporated milk.
- Pour mixture into pie crust.
- Bake for 15 minutes.
- Reduce heat to 350°F and bake for 40-50 minutes.
- Cool before serving.
Notes
- Use pure stevia extract for best results.
- Check pie at 40 minutes to prevent overbaking.
- Let pie cool completely for cleaner slices.
- Prep Time: 15 minutes
- Cook Time: 55 minutes
- Category: Dessert
- Method: Baking
- Cuisine: American
Nutrition
- Serving Size: 1 slice
- Calories: 180
- Sugar: 5g
- Sodium: 220mg
- Fat: 8g
- Saturated Fat: 3g
- Unsaturated Fat: 4g
- Trans Fat: 0g
- Carbohydrates: 22g
- Fiber: 2g
- Protein: 5g
- Cholesterol: 55mg