Skip to content
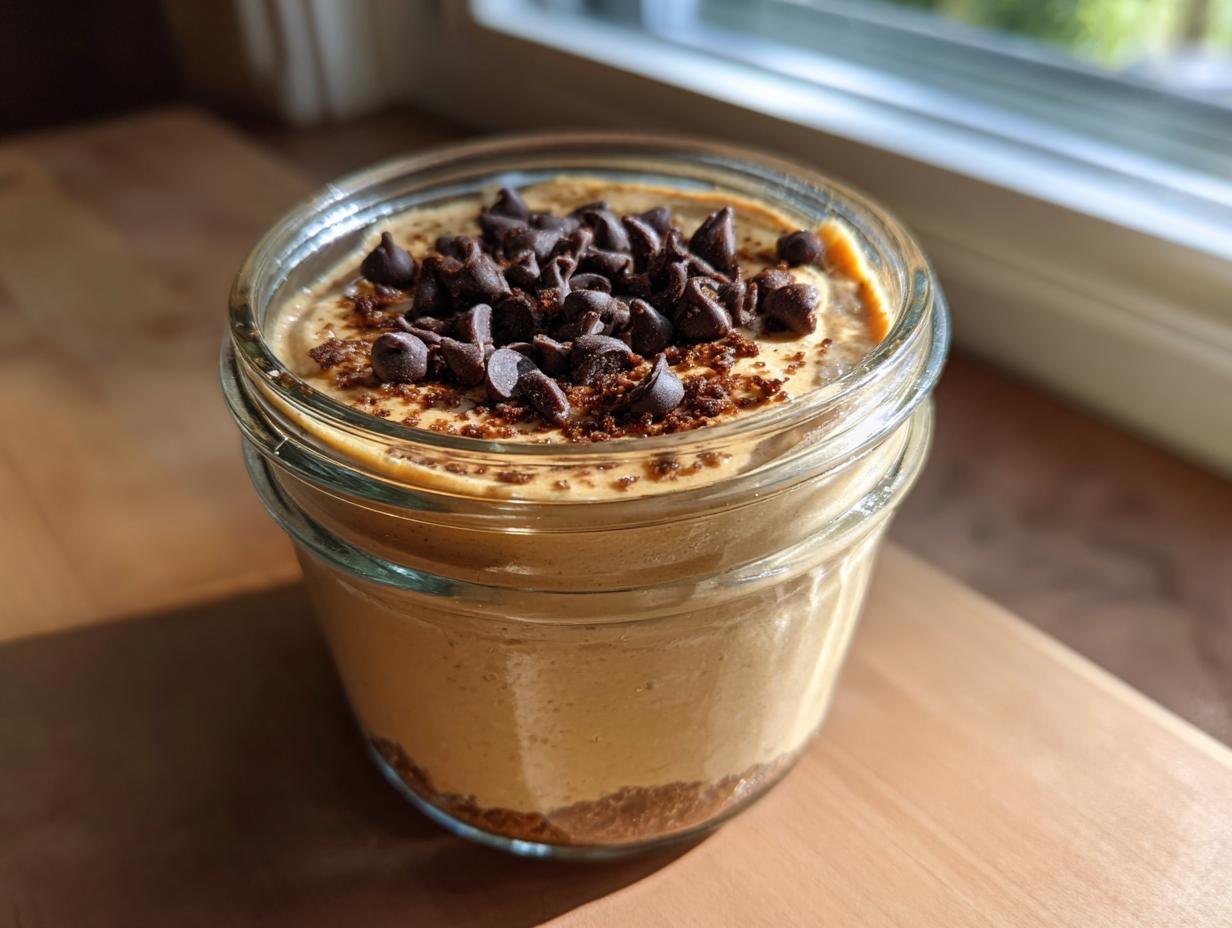
Oh my goodness, let me tell you about these little jars of magic! When I first stumbled upon the idea of no-bake sugar-free peanut butter cheesecake jars, I nearly jumped for joy in my tiny kitchen. As someone who’s always racing against the clock (and my sweet tooth), these became my secret weapon against dessert cravings. No oven? No problem! Just fifteen minutes of mixing, a couple hours of chilling, and boom – you’ve got creamy, dreamy cheesecake that won’t send your blood sugar soaring.
My husband, who’s usually skeptical about “healthy” desserts, couldn’t believe these were sugar-free when he tried his first spoonful. Now, I always keep the ingredients on hand for last-minute guests or those nights when only peanut butter cheesecake will do. The best part? These adorable individual portions mean no fighting over who gets the biggest slice – though I won’t judge if you sneak a second jar when no one’s looking!
Why You’ll Love These No Bake Sugar Free Peanut Butter Cheesecake Jars
Listen, I know what you’re thinking—can a sugar-free dessert actually taste good? Oh honey, these little jars will make you a believer! Here’s why they’ve become my go-to treat:
- Quick prep: Fifteen minutes is all you need—no waiting for butter to soften or dough to chill. Just mix and go!
- No oven needed: Perfect for summer when turning on the oven feels like a crime, or when you’re just too tired to bake.
- Guilt-free indulgence: All that creamy peanut butter goodness without the sugar crash afterward.
- Portion control: Individual jars mean no accidentally eating half a cheesecake (we’ve all been there).
- Dreamy texture: The whipped cream makes it so light, yet rich—like eating a cloud with peanut butter magic.
Trust me, once you try these, you’ll wonder how you ever lived without them!
Ingredients for No Bake Sugar Free Peanut Butter Cheesecake Jars
Okay, let’s gather our goodies! Here’s exactly what you’ll need to make these dreamy jars happen:
- 1 cup cream cheese, softened – Leave it out for an hour or so until it’s spreadable (cold cream cheese will leave lumps, and we don’t want that!)
- 1/2 cup sugar-free peanut butter – Go for the natural kind without added oils or sweeteners for the best flavor
- 1/4 cup powdered sweetener – I swear by erythritol blends, but use your favorite sugar-free option
- 1 tsp vanilla extract – The real stuff, not imitation – it makes all the difference
- 1/2 cup heavy cream – We’ll whip this into fluffy clouds of deliciousness
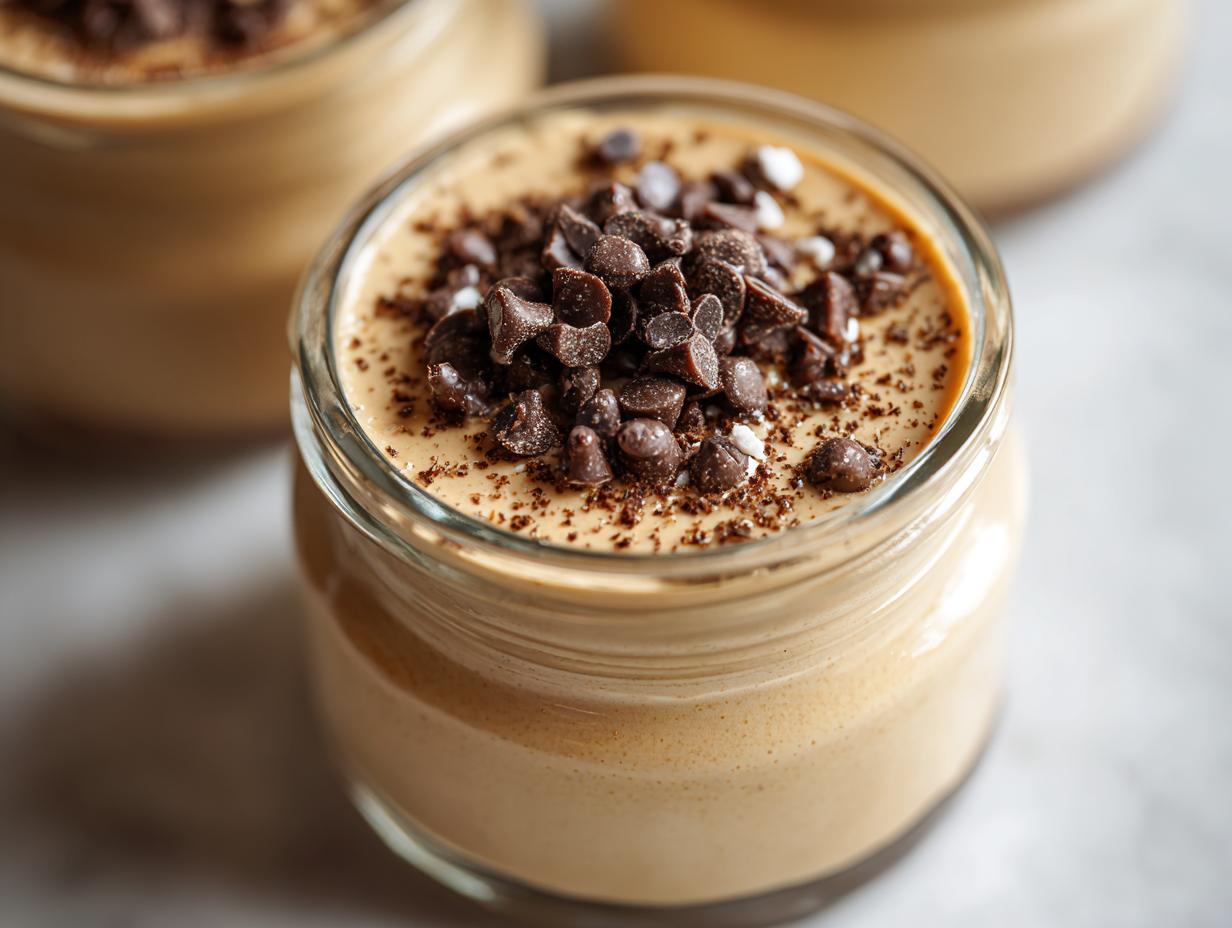
- 4 small glass jars – 8-ounce mason jars work perfectly for cute individual servings
- Optional: sugar-free chocolate chips – Because peanut butter and chocolate are soulmates
See? Simple ingredients, but when they come together – magic!
Equipment You’ll Need
Don’t worry, you won’t need anything fancy for these cheesecake jars! Just grab:
- A medium mixing bowl (I use my favorite stoneware one)
- An electric mixer or sturdy whisk (your arms will thank you for the mixer)
- A rubber spatula for scraping every last bit of that delicious batter
- 4 small glass jars – those cute 8-ounce mason jars work perfectly
That’s it! Now let’s get mixing.
How to Make No Bake Sugar Free Peanut Butter Cheesecake Jars
Alright, let’s dive into the fun part – making these dreamy jars! This is where the magic happens, and I promise it’s easier than you think. Just follow these simple steps, and you’ll have dessert ready before you know it.
Step 1: Blend the Base
First, grab your softened cream cheese (remember – no lumps allowed!) and plop it into your mixing bowl. Add the sugar-free peanut butter, powdered sweetener, and that glorious vanilla extract. Now, mix it all together on medium speed until it’s silky smooth – about 2 minutes should do it. Don’t forget to scrape down the sides of the bowl halfway through! You want every bit incorporated. The mixture should look like the creamiest peanut butter frosting you’ve ever seen.
Step 2: Incorporate Whipped Cream
Here’s where we get fancy! Whip your heavy cream until it forms soft peaks – about 3-4 minutes with a mixer. Now, the secret: gently fold the whipped cream into your peanut butter mixture using a rubber spatula. Think of it like tucking a baby into bed – be gentle! We want to keep all that beautiful air in the whipped cream. Stop when you can’t see any white streaks left. Overmixing will make your cheesecake dense, and we want it light as air!
Step 3: Assemble and Chill
Time for the jars! Spoon the mixture evenly into your four jars, giving each one a little tap on the counter to remove air bubbles. If you’re feeling extra, you can pipe it in for a fancier look. Pop the lids on and refrigerate for at least 2 hours – I know, the waiting is the hardest part! But trust me, this chill time is what transforms the mixture from batter to perfect cheesecake texture. If you can resist, letting them sit overnight makes them even better.
Tips for Perfect No Bake Sugar Free Peanut Butter Cheesecake Jars
After making these cheesecake jars more times than I can count (okay fine, I’ve lost track because I make them weekly), I’ve picked up some tricks that’ll guarantee perfection every time:
- Full-fat cream cheese is non-negotiable – The low-fat stuff just won’t give you that luxurious, rich texture we’re after
- Taste as you go – Sweetness preferences vary, so adjust your powdered sweetener gradually until it’s just right for you
- Wait to garnish – Add chocolate chips or peanut butter drizzle right before serving to keep everything looking fresh
- Room temp ingredients blend better – Take everything out of the fridge about 30 minutes before starting
- Chill time matters – Don’t cheat the 2-hour minimum, or you’ll get a sad, soupy mess instead of perfect cheesecake texture
Follow these, and you’ll be a no-bake cheesecake jar pro in no time!
Variations and Substitutions
Oh, the possibilities! One of my favorite things about this recipe is how easily you can mix it up. Here are some delicious twists I’ve tried (and loved!):
- Nut butter swap: Almond butter or cashew butter work beautifully if you’re not a peanut butter fan
- Coconut cream: For a dairy-free version, use coconut cream instead of heavy cream (just make sure it’s chilled overnight first)
- Chocolate lover’s dream: Add 2 tbsp cocoa powder to the base mixture for a chocolate peanut butter combo
- Crunchy topping: Sprinkle crushed sugar-free cookies or nuts on top before serving
- Berry swirl: Layer in some sugar-free raspberry jam for a PB&J vibe
Don’t be afraid to play around – that’s half the fun!
Serving and Storage
Here’s the beautiful part – these cheesecake jars are ready whenever you are! They’re perfect straight from the fridge (that’s how I like them best – cool and creamy). No reheating needed – in fact, please don’t try it! They’ll keep happily in your refrigerator for up to 3 days, though let’s be real – they never last that long in my house. If you want to get fancy, let them sit out for about 5 minutes before serving to take the chill off just slightly. Pro tip: hide one in the back of the fridge for yourself before the family finds them!
Nutritional Information
Just so you know exactly what you’re enjoying (without any guilt!), here’s the scoop on these creamy little jars. Estimates vary slightly based on brands, but per serving (one jar), you’re looking at:
- 220 calories – A totally reasonable dessert splurge!
- 18g fat – That’s where all the creamy richness comes from
- Only 2g sugar – Thank you, sugar-free peanut butter!
- 7g protein – Peanut butter power at work
Remember, these numbers might wiggle a bit depending on your exact ingredients – but isn’t it nice knowing you’re treating yourself without going overboard?
Frequently Asked Questions
I’ve gotten so many questions about these cheesecake jars over the years – here are the ones that pop up most often:
Can I freeze these? Oh honey, I wouldn’t. The texture goes all weird and grainy when thawed – like peanut butter chalk (not appetizing!). They’re best enjoyed fresh from the fridge.
What sweetener alternatives work? I’m partial to erythritol blends, but monk fruit or stevia work great too! Just adjust to taste – some sweeteners are stronger than others. Powdered versions blend best.
Don’t have jars? No worries! Ramekins or small dessert cups work perfectly. Even those cute little plastic containers from takeout (washed, obviously) can become impromptu cheesecake vessels in a pinch.
Can I make one big cheesecake instead? Absolutely! Use a 6-inch springform pan and chill for at least 4 hours. You’ll need to double the recipe though – not that I’m complaining!
Share Your Creations
I’d love to see your cheesecake jar masterpieces! Tag me on Instagram so I can ooh and aah over your creations. Nothing makes me happier than seeing you all enjoy this recipe as much as I do!
Print
15-Minute No Bake Sugar Free Peanut Butter Cheesecake Jars Bliss
- Total Time: 2 hrs 15 mins
- Yield: 4 servings 1x
- Diet: Low Calorie
Description
A simple, no-bake cheesecake in jars with a sugar-free peanut butter twist.
Ingredients
- 1 cup cream cheese, softened
- 1/2 cup sugar-free peanut butter
- 1/4 cup powdered sweetener (like erythritol)
- 1 tsp vanilla extract
- 1/2 cup heavy cream, whipped
- 4 small glass jars
- Optional: sugar-free chocolate chips for garnish
Instructions
- Mix cream cheese, peanut butter, sweetener, and vanilla until smooth.
- Fold in whipped cream gently.
- Spoon the mixture into jars.
- Chill for at least 2 hours.
- Top with sugar-free chocolate chips if desired.
Notes
- Use room-temperature cream cheese for smoother mixing.
- Adjust sweetness to taste.
- Store in the fridge for up to 3 days.
- Prep Time: 15 mins
- Cook Time: 0 mins
- Category: Dessert
- Method: No Bake
- Cuisine: American
Nutrition
- Serving Size: 1 jar
- Calories: 220
- Sugar: 2g
- Sodium: 180mg
- Fat: 18g
- Saturated Fat: 8g
- Unsaturated Fat: 7g
- Trans Fat: 0g
- Carbohydrates: 6g
- Fiber: 2g
- Protein: 7g
- Cholesterol: 40mg